
I’ve seen a lot of people asking themselves how they will manage to paint every Zombicide’s zombies. Well, I took the bull by the horns and I decided to paint my game the fast way ! Will it look good ? You’ll be the judge !
It will take around 24 hours to paint all the figures . Let’s start this tutorial, brought to you by the worst painter of GangeekStyle’s board ! Don’t forget that I’m not a pro, so please forgive me if I’m making some mistake and comment this post to let us know what can be improved.
The equipment :
– A paint spray of white undercoat.
– An airbrush (in order to go faster, it will take a lot of time to do all the work with a paintbrush).
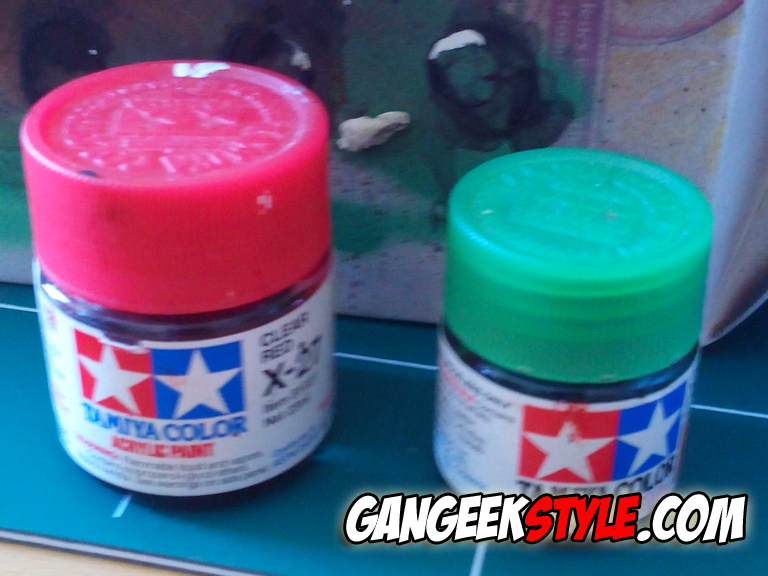
– In addition to your paints, you’ll need some Tamiya X-27 (for the blood), some Tamiya X-25(for toxic zombies skin), some Pince August 733 (for the inmates outfits), some black Wash Game Color 73.201 (to darken), some Agrax Earthshade Citadel (for some effects and wash drawings) and some Prince August 951 white (for small dry brushings).
– Blu-tack.
– A spray of mat varnish.
– A tube of wood glue.
– Sand.
– A hairdryer.
When I have painted my first box of Zombicide and when I have read Remy Tremblay’s advices, I have understood a few things :
– there is no need to trim the figures because they will be manipulated a lot by the players.
– there is no need to do a lot of color swapping, the zombies don’t last long on the board so color mixity is not an issue.
My first attempt, painted in a week end!
This time I made everything strict to the point in order to save a lot of time. But I also tried not to make the figures look too crappy. Zombicide, is a serious thing!
The to-do list!
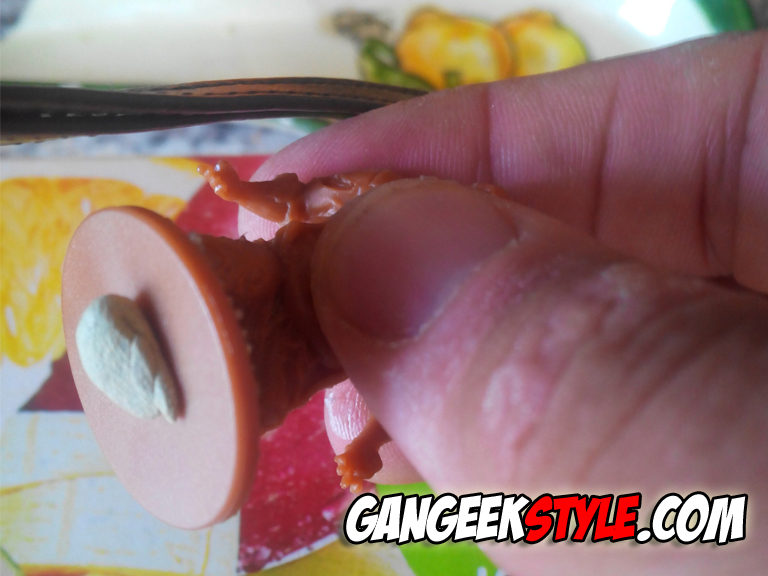
#1 Put some wood glue on the bases. You can add water to the glue in order to make things easier. 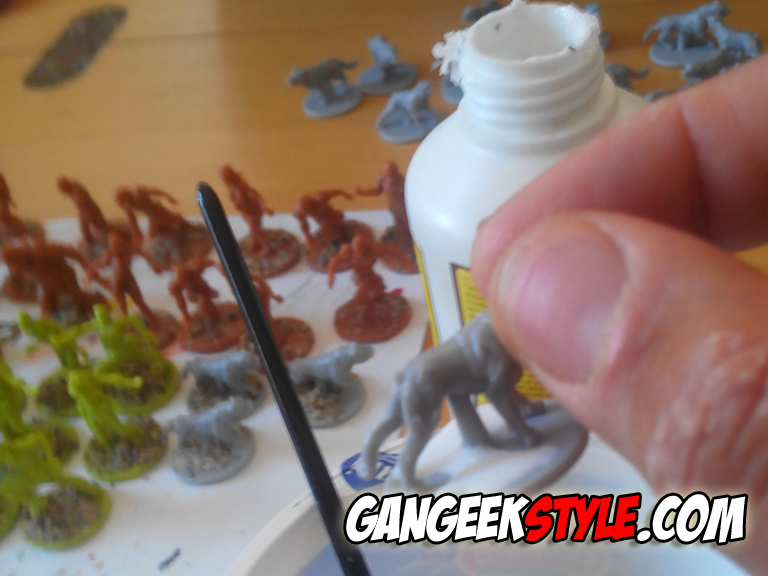
#2 Soak the figure in the sand. Don’t make the same mistake as I did, I took some wet sand. 
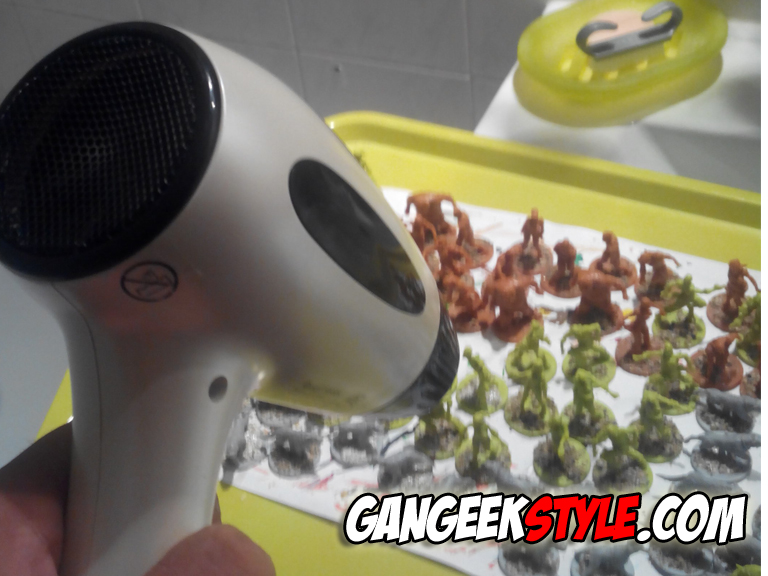
Pour gagner du temps, pensez à utiliser votre sèche-cheveux
#3 Stick the figures on a large support with Blu-tack. They won’t fly away when you’ll use the paint spray. I chose to stick them on a brick of fruit juice.
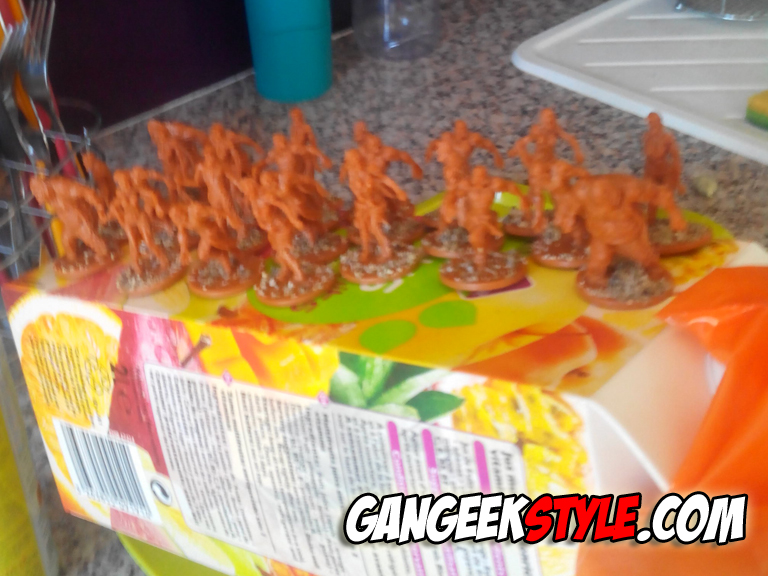
#4 Put a white undercoat. 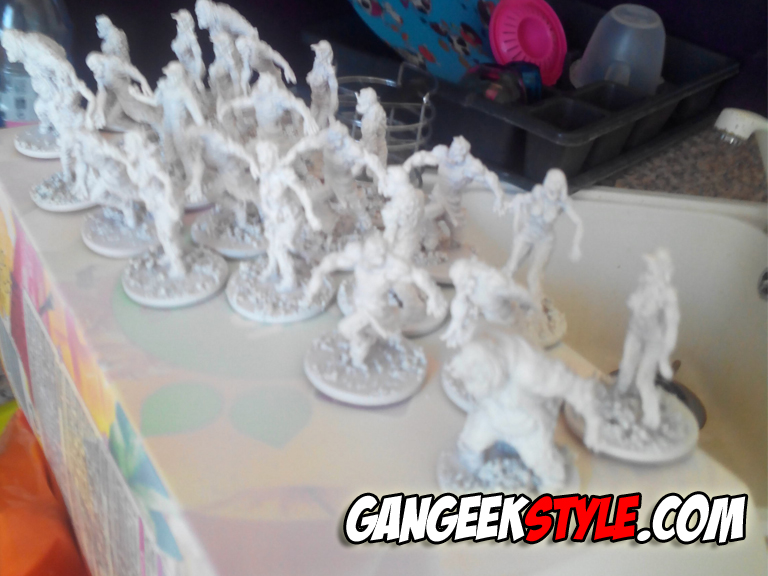
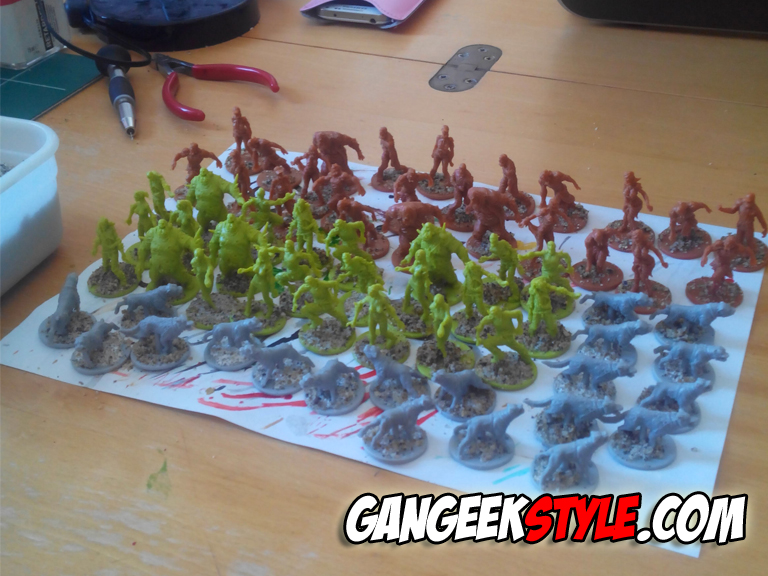
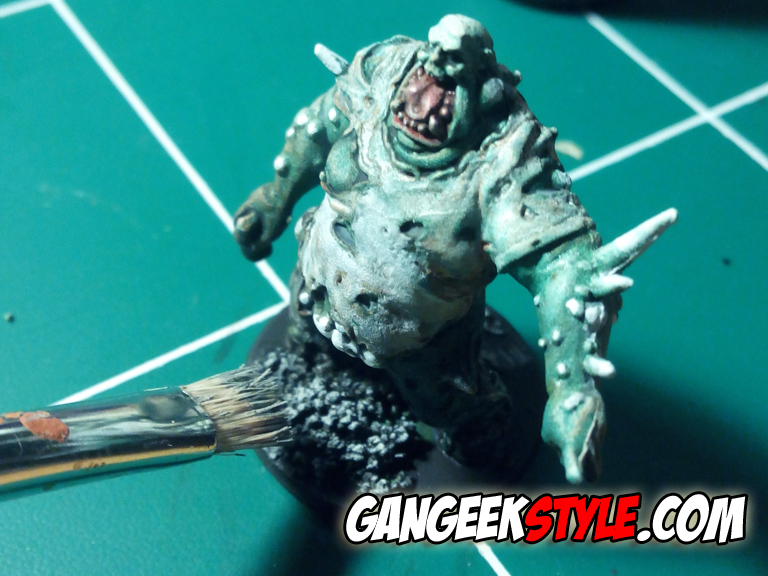
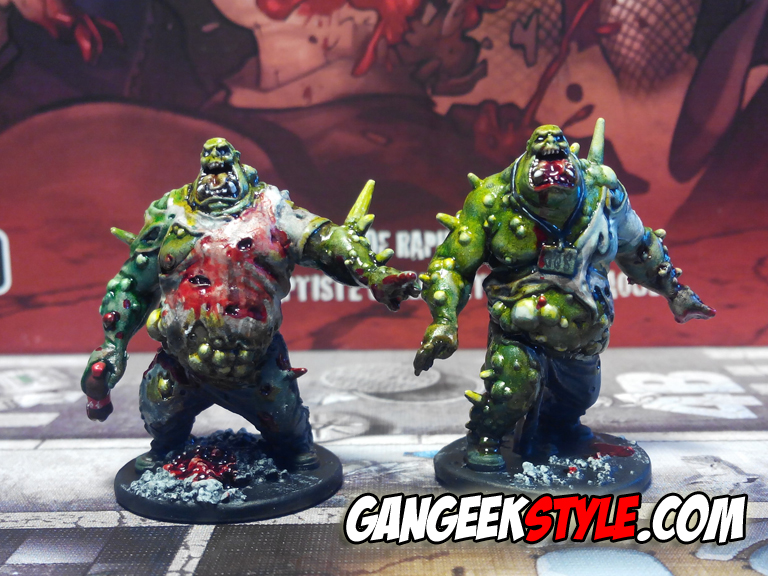
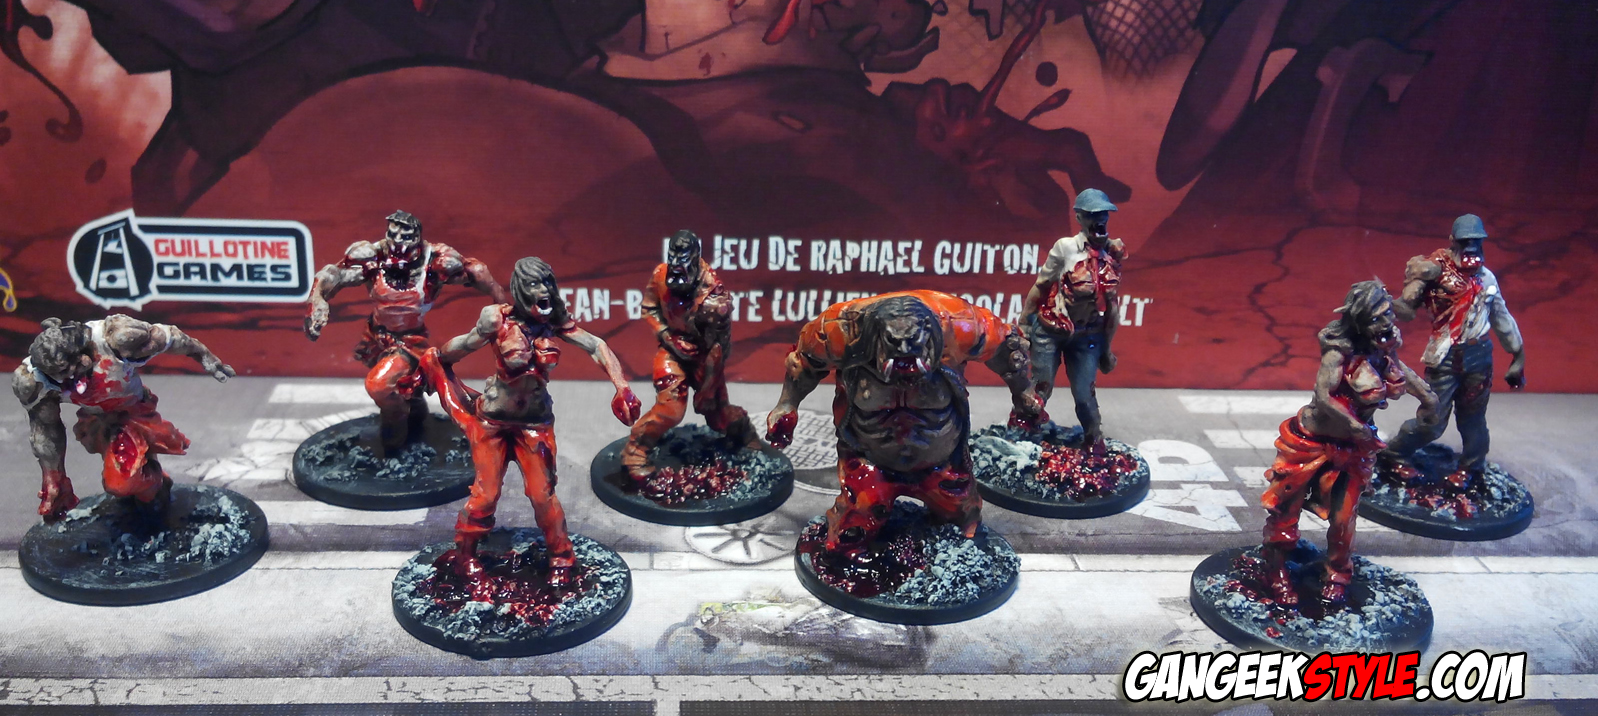
#5 Put the main color with the airbrush. If you do not own one you can do it with a paintbrush (it will only take more time). I wanted my berserkers to be dark. I used Whisky Opaque from Pro-Color. For the toxics I used Vert Pré. 
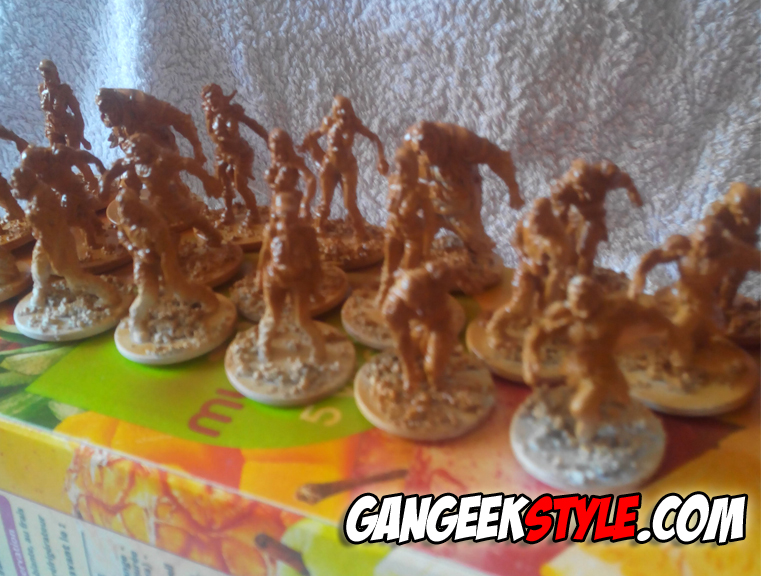
#6 Darken the bases with the airbrush. For the berserkers I used Terre de Sienne Opaque from Pro-Color. For the toxics, I used Vert Bouteille from Pro-Color blended with black.
#7 Lighten the top of the figures with white. 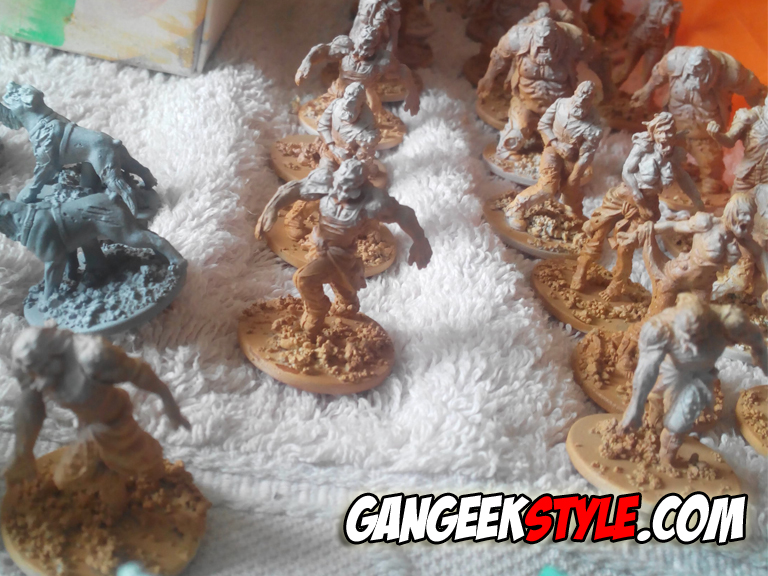
#8 Put a green washdrawing on the toxics. 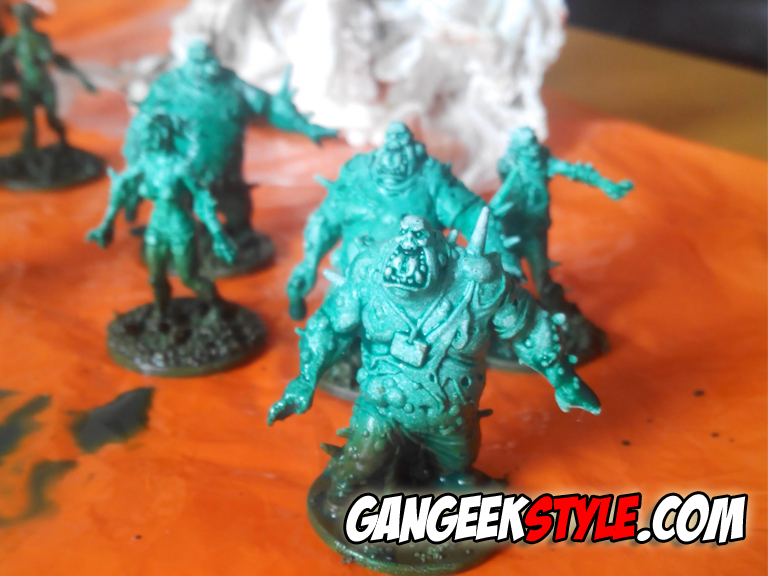
#9 Put an Agrax Earthshade Citadel washdrawing on every figures (even the toxics). Don’t forget to use your hairdryer to save time.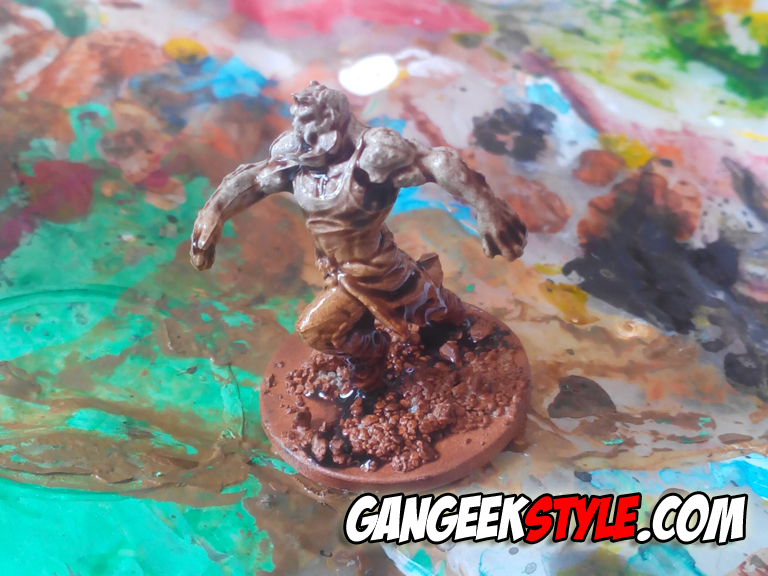
#10 Paint the main colors with a paintbrush. (jeans, inmate’s outfit, hats etc …)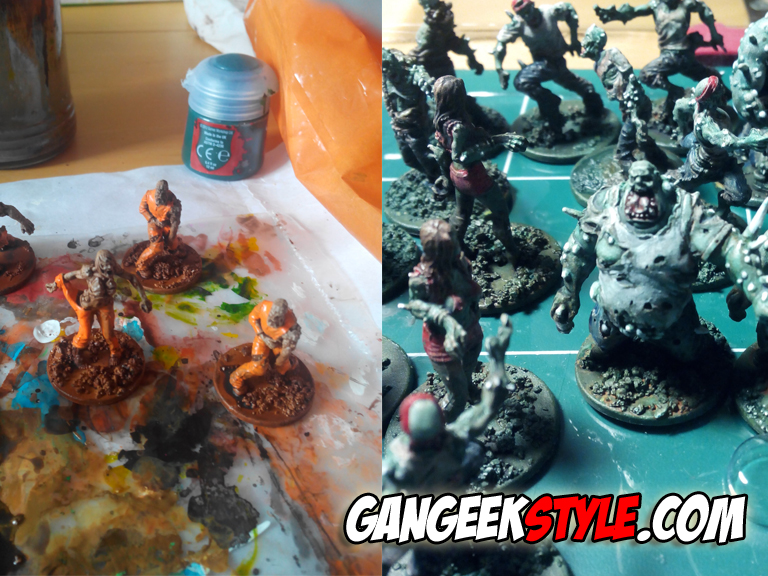
#11 Operate a little dry brushing with white Prince August 951 on every figures. This step is hard, you need to highlight the volumes without doing too much.
#12 Put an Agrax Earthshade Citadel washdrawing on every figures.
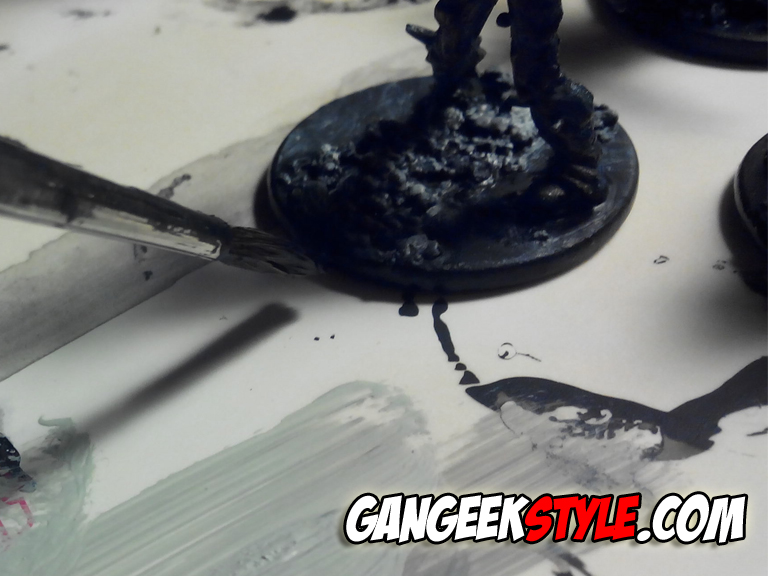
#13 Darken the hollows, the hair and the face of the figures with Wash Game Color black 73.201. Don’t put too much of it, it’s only to strenghten the appearence of the figure. During this step, paint the bases and the sand in black, then do a dark grey dry brush and a light grey dry brush on the sand. Paint the bases’ contour in black. 
#14 Stick the figures on a large support with Blu-tack.
#15 Apply a layer of mat varnish spray on every figures. This varnish will protect the figures during the play and will allow you to apply the Tamiya paintings safely. 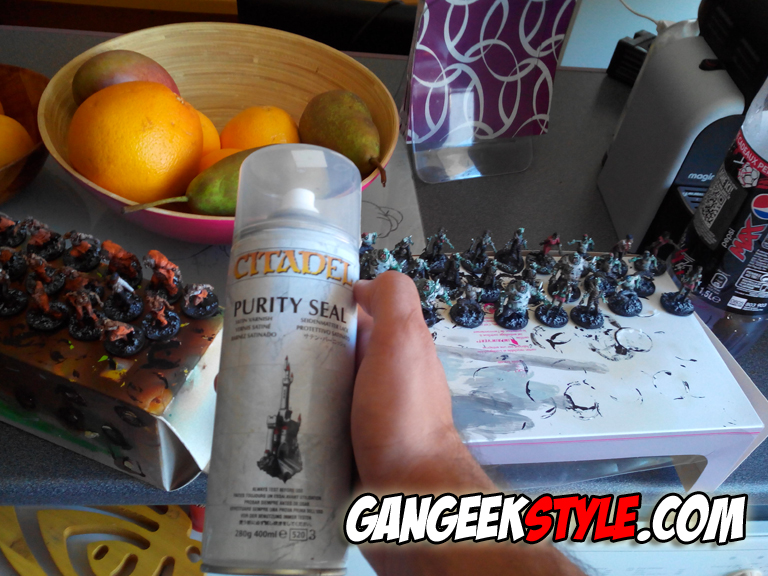
Attention ces peintures sont toxiques !
#16 Put some Tamiya X-25 on the toxics’ skin (without shaking the pot). You should have a yellow layer on the top of the pot and a green one on the bottom, put the yellow.
#17 Put some Tamiya X-27 in different places to simulate blood. Don’t put too much of it!
#18 Lighten the inmate’s outfits with Prince August 733 painting. It was a test and it worked very well to spot them easily on the board. 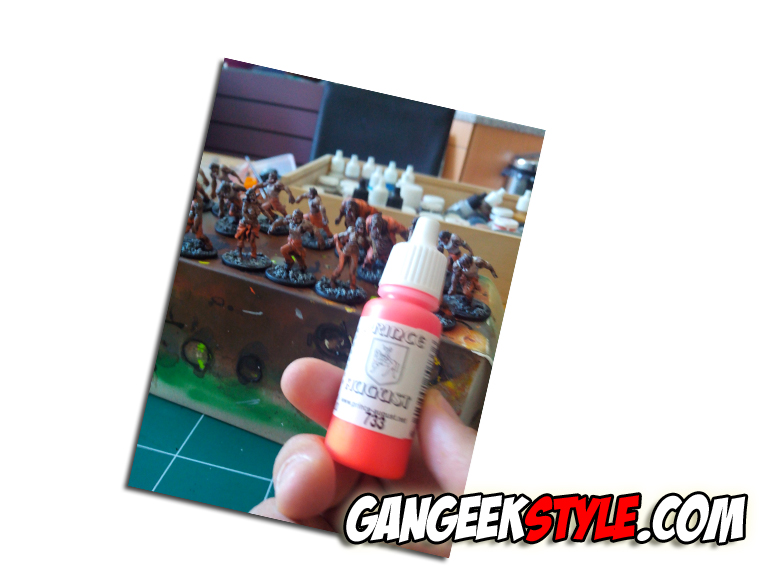
#19 Put some strokes of white for the teeth and the eyes. It’s very important, if you miss that step your figures will be ugly. People always watch figure’s face first.

#20 Align the figures by families. This way you should work the details without forgetting a spot on a figure.
#21 Do some details like glasses, jewels etc. No matter to go too far if the face is okay.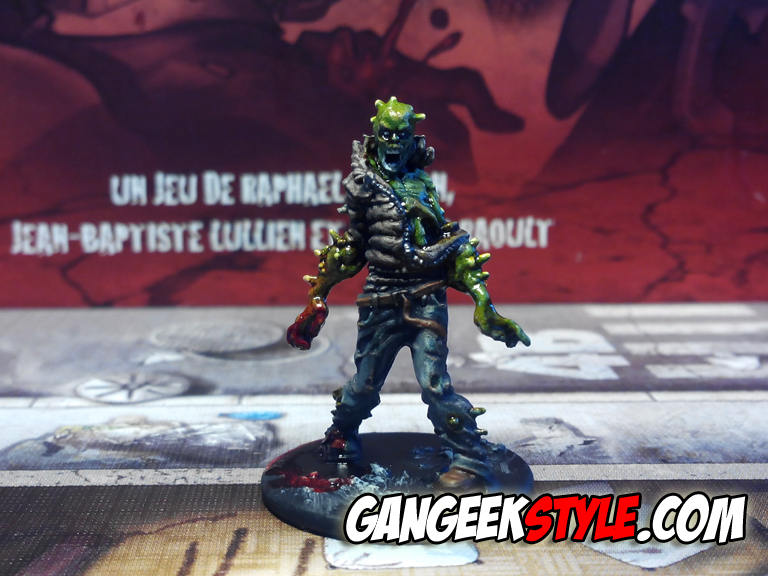

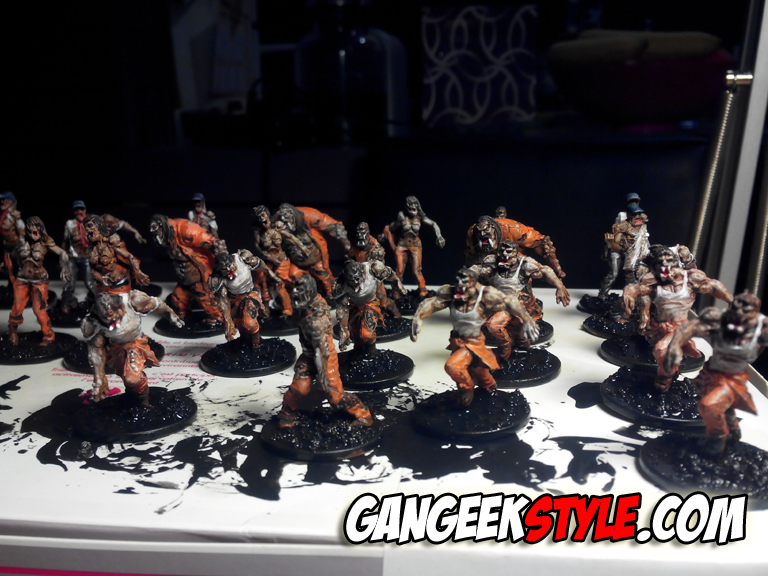
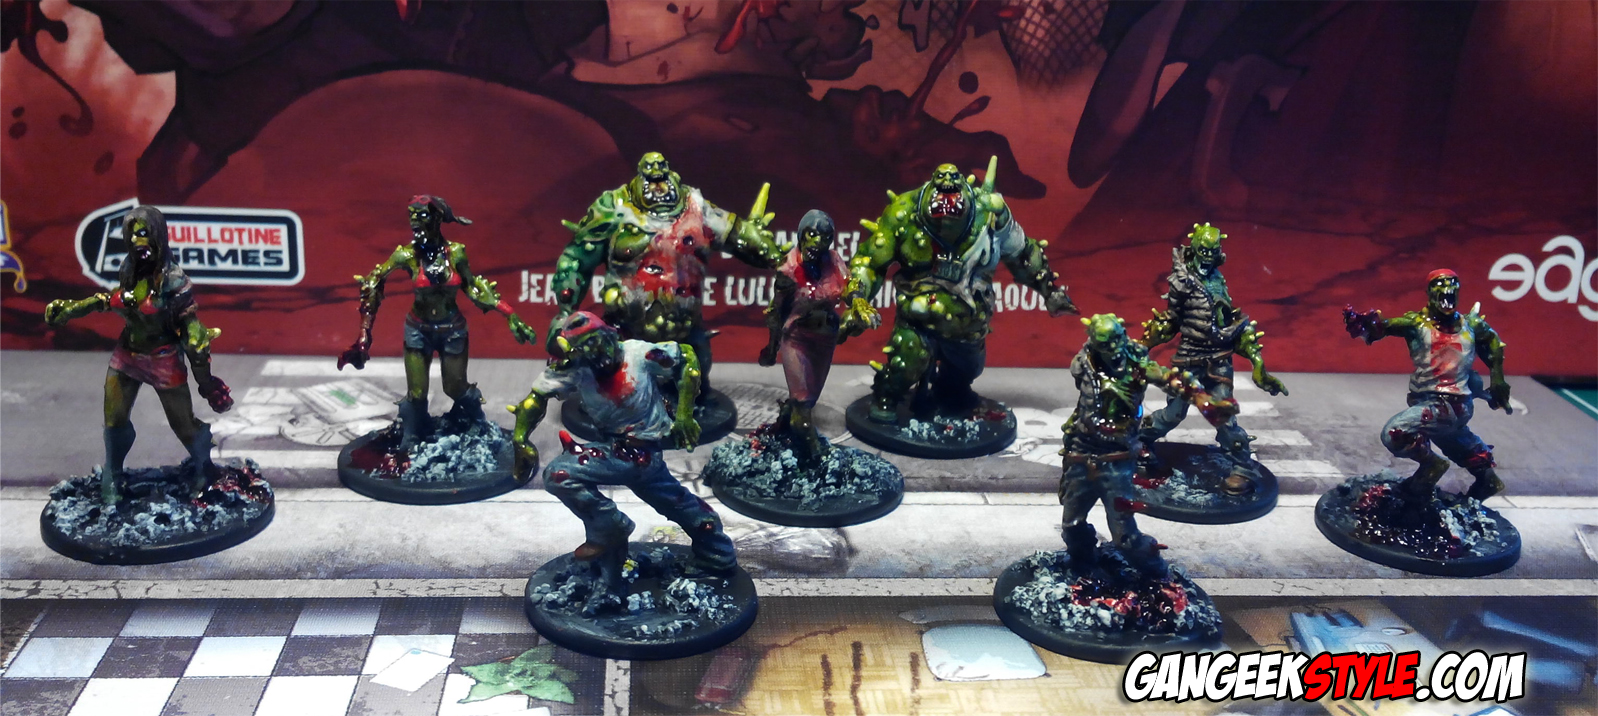
Conclusion
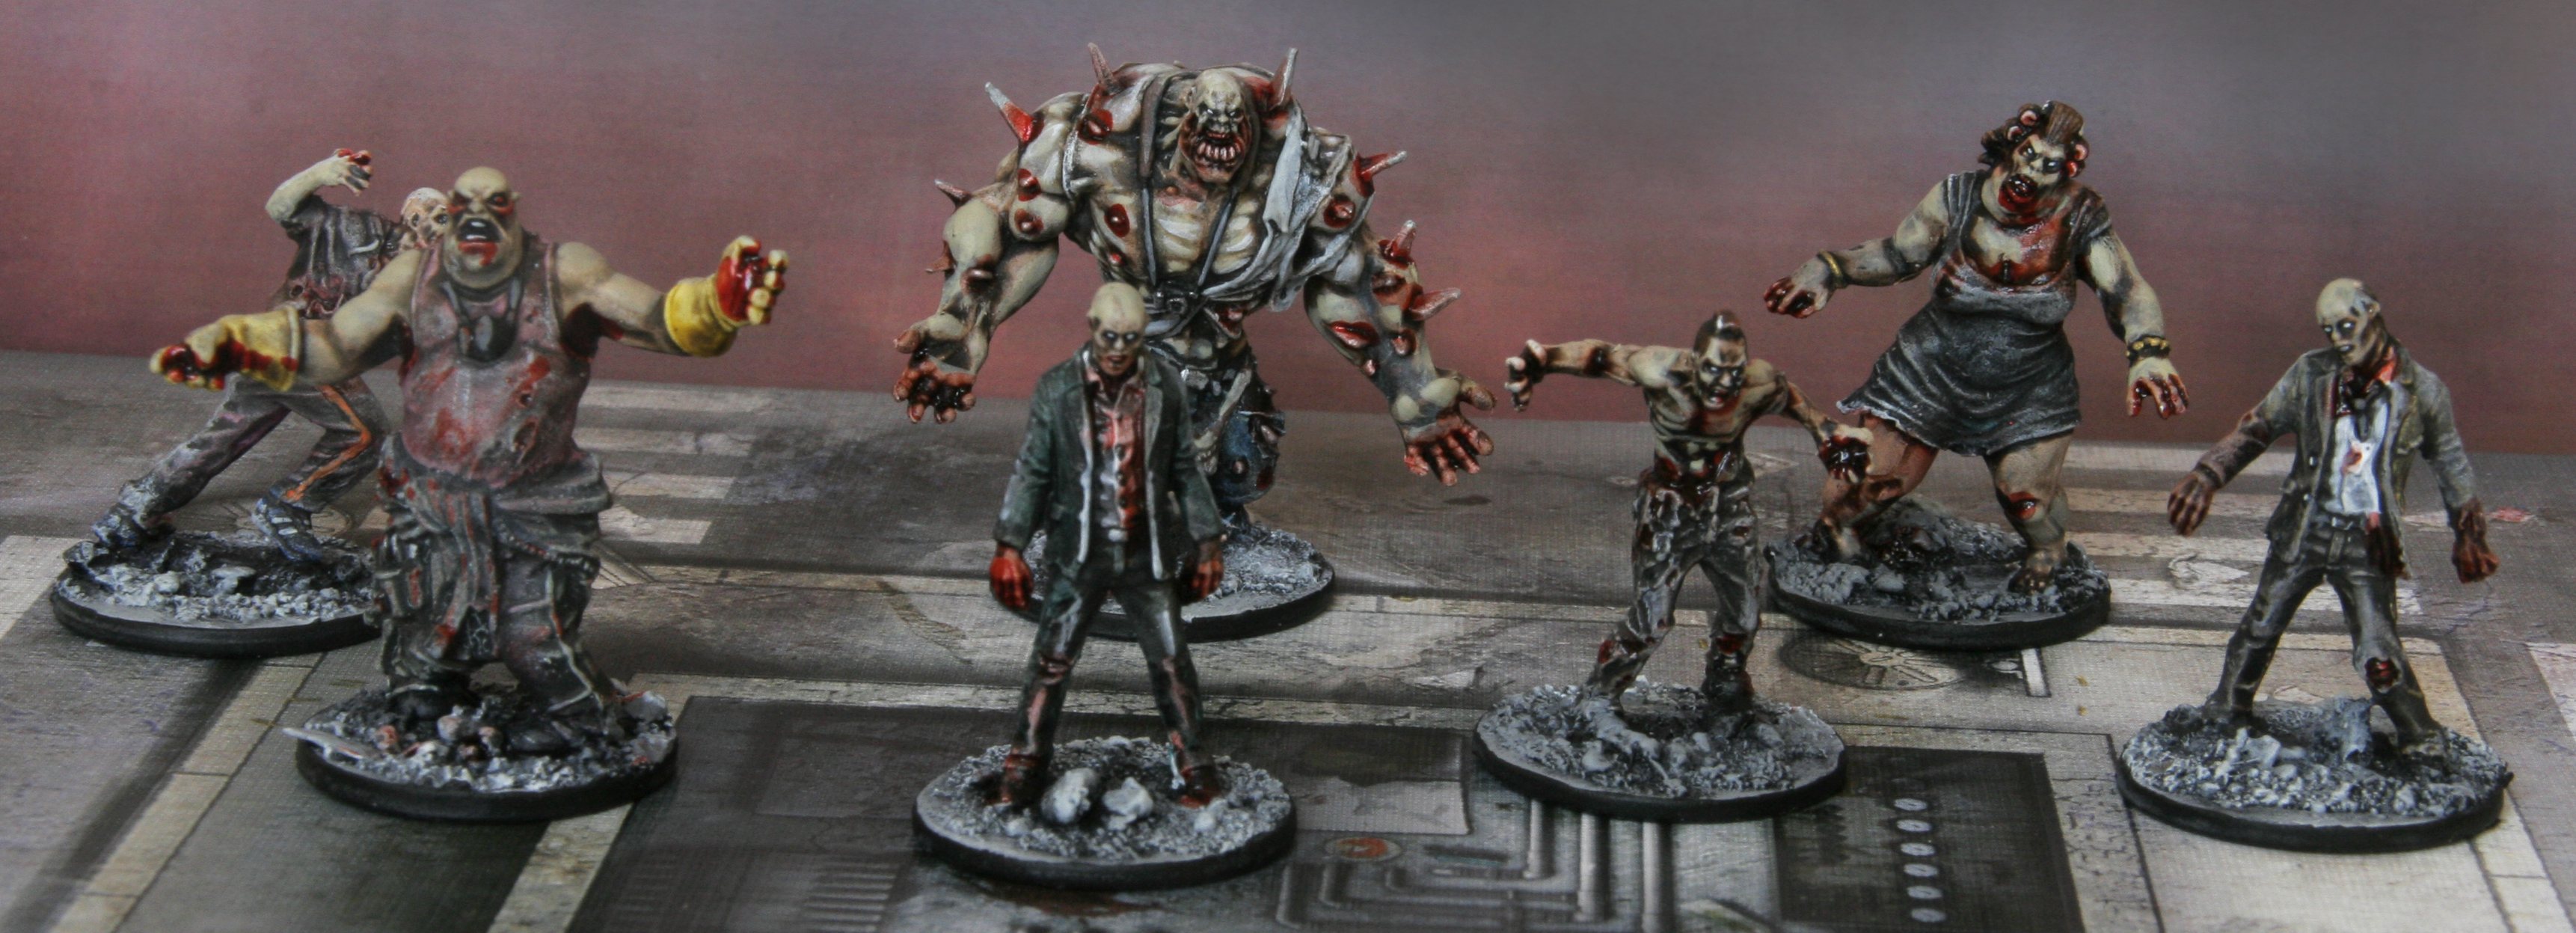
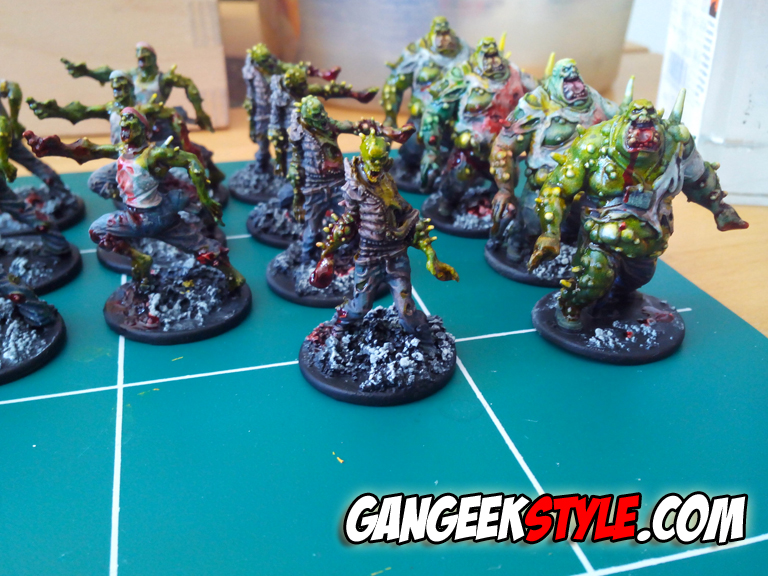
You should have painted all your zombies. The point is to obtain a nice mass effect render. I hope this tutorial is clear enough.
Here is the final render, see you soon !